
New Mexico EcoSteel House - moved in and furnishing
categories:
0630 New Mexico EcoSteel,
construction issues,
EcoSteel PreFab
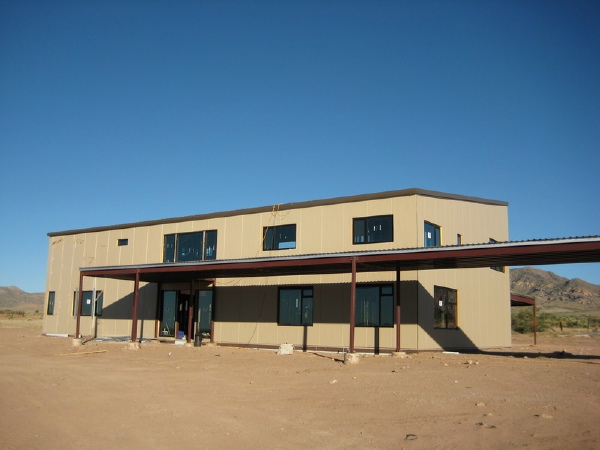
Some new photos from the owner of the New Mexico EcoSteel House today. They have begun to furnish the house, and at last the house looks and feels lived in.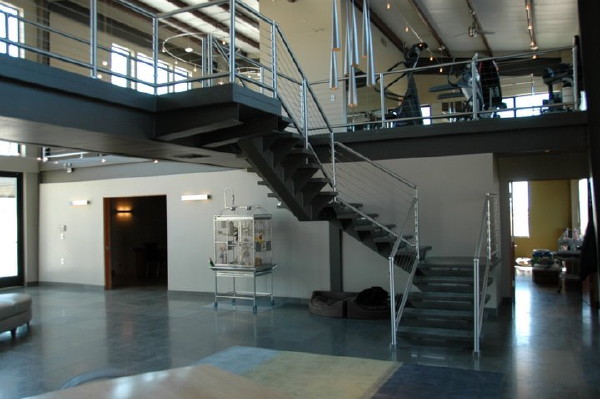
More of the photos in a photo browser after the click-through.
And remember you can trace the entire construction process in the Flickr photo set for this house. Thanks for following, and thanks to the owner for sharing their house.
Continue reading "New Mexico EcoSteel House - moved in and furnishing"
 More of the photos in a photo browser after the click-through.
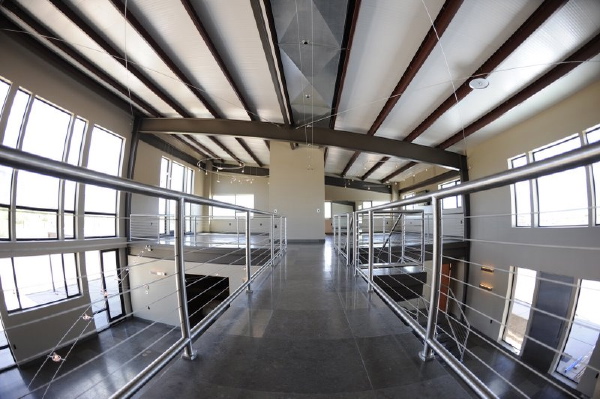 So this is it. Perhaps we will see some photos of the place with furniture, but this project is coming to a close. Its been very exciting to see it come together, and the owner has been very generous with their photos. Our thanks to them for sharing their house with us, and you our readers.
 Look below the fold for a photo browser with more interior shots.
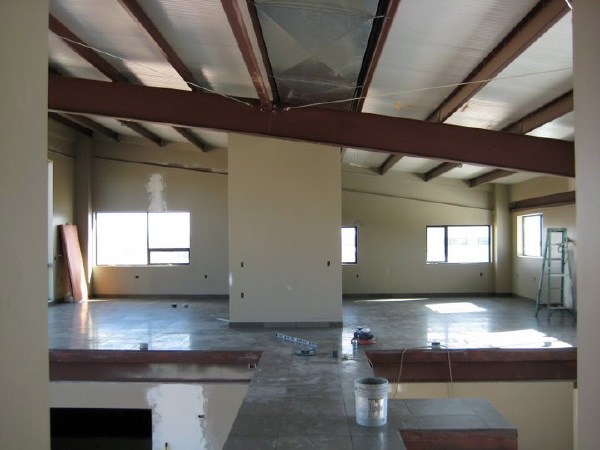 Click through the link below to see a photo browser with more images of the interior and the site.
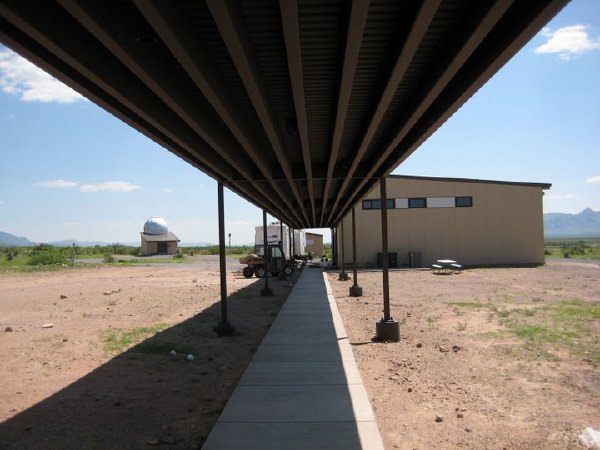
 As before more shots in a photo browser below the click through:
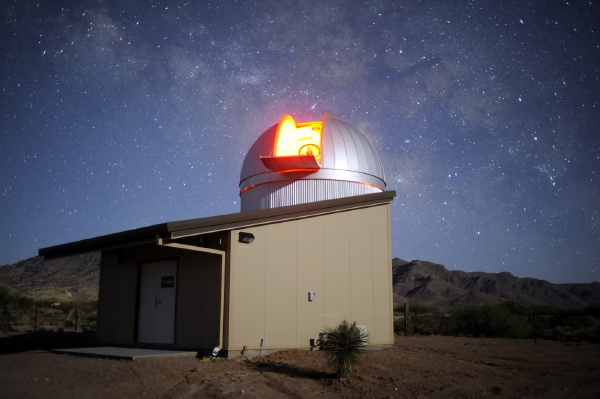 Be sure to stop by the
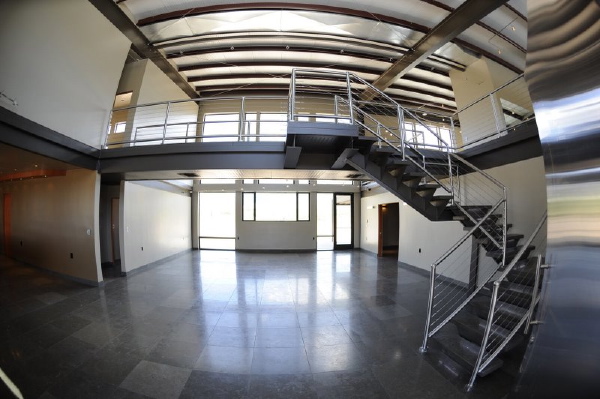
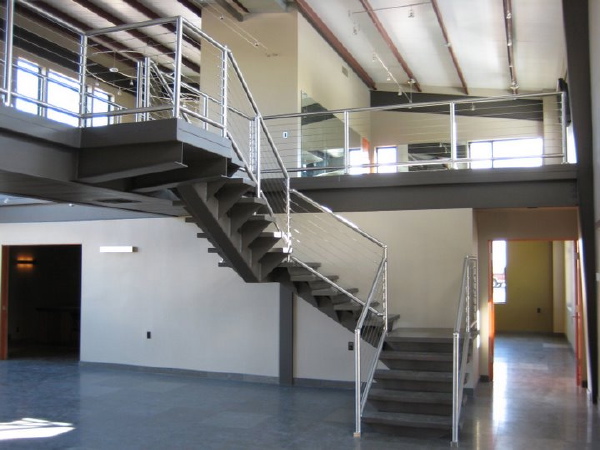
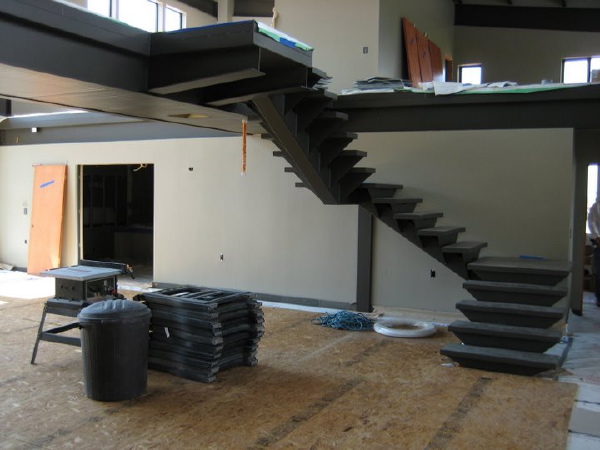
 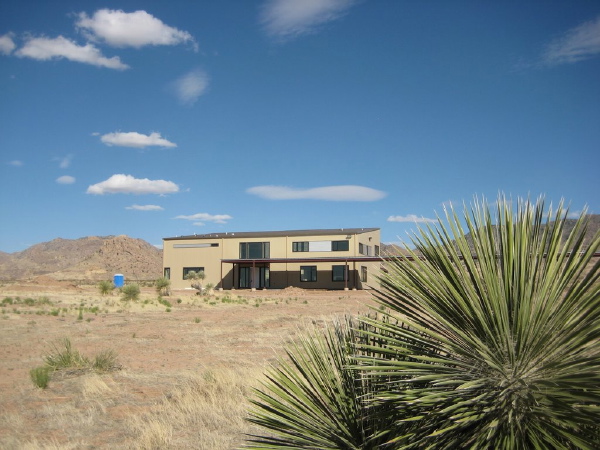 Inside you can start to see the shape of the rooms now that there is some wall board over the studs. You can see how one space over looks another, and how the bridge and stairs are like a sculpture in middle of the house. The Owner also took some great photos of the view enjoyed from each side of the house. Its a dramatically beautiful land out there.
click the link below to continue reading, and for a browser of the new photos.
Inside you can start to see the shape of the rooms now that there is some wall board over the studs. You can see how one space over looks another, and how the bridge and stairs are like a sculpture in middle of the house. The Owner also took some great photos of the view enjoyed from each side of the house. Its a dramatically beautiful land out there.
click the link below to continue reading, and for a browser of the new photos. click through the link below for more photos.
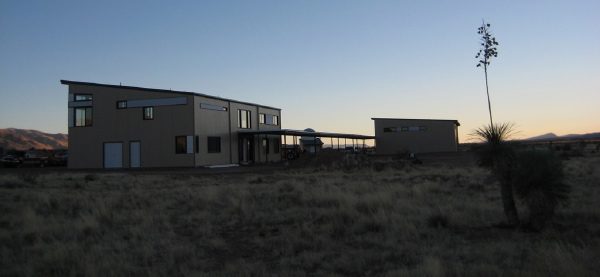 Remember you can see photos of the entire build on the Flickr
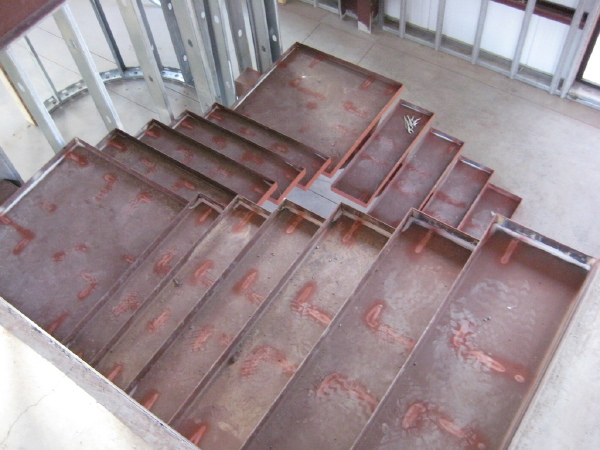
 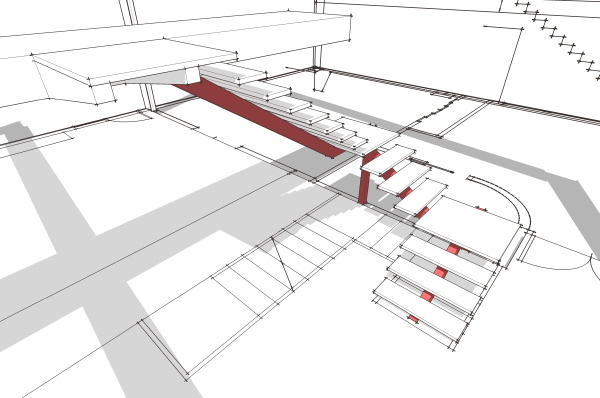 The stair consists of a single steel stringer with cantilevered treads and risers. Not a completely unusual configuration, but not as often configured in a U shaped stair. The undercarriage was all exposed and visible, so we did not want to see a post coming down to the floor under the landings. So our posts are actually hidden in the adjacent wall which you can still see here as the wall framing has not received drywall yet.
The floor to floor height is high, so the stair needed to be quite long. And we could not have the bottom of the stair crowding the front door. So it found itself pushed back and leading up to a cantilevered landing which hangs off the second floor bridge. The steel work for this landing, and the undercarriage of the stair is all hanging out for view and it has really become a microcosm for the construction of the house - a place where you can get right up to the connections and lay your hands on them compared to the roof and floor beams that are high above your head.
The stair consists of a single steel stringer with cantilevered treads and risers. Not a completely unusual configuration, but not as often configured in a U shaped stair. The undercarriage was all exposed and visible, so we did not want to see a post coming down to the floor under the landings. So our posts are actually hidden in the adjacent wall which you can still see here as the wall framing has not received drywall yet.
The floor to floor height is high, so the stair needed to be quite long. And we could not have the bottom of the stair crowding the front door. So it found itself pushed back and leading up to a cantilevered landing which hangs off the second floor bridge. The steel work for this landing, and the undercarriage of the stair is all hanging out for view and it has really become a microcosm for the construction of the house - a place where you can get right up to the connections and lay your hands on them compared to the roof and floor beams that are high above your head.
 More photos after the fold.
 and the latest from the site after the jump:
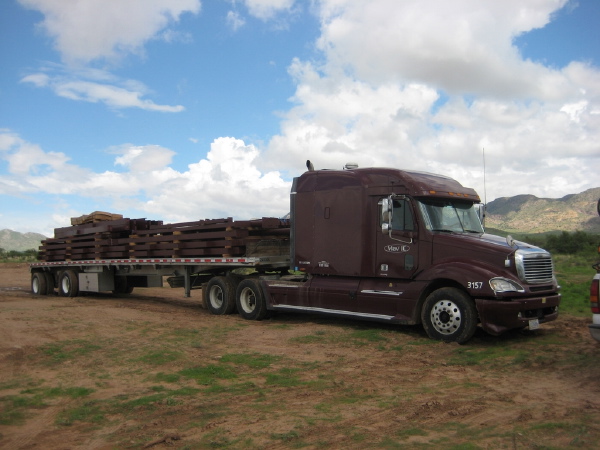
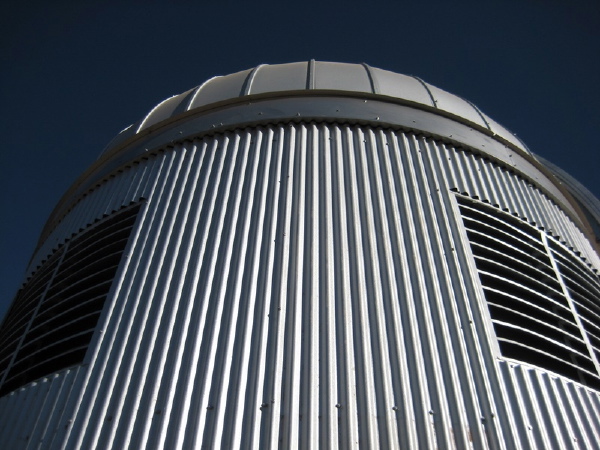 There is still not power at the site, so the scope is not up and running yet. I'm sure we will see some photos from it as soon as its powered up and calibrated to the control software and dome. In the Flickr photo stream below you can see photos of the scope arriving and being installed. The telescope is manufactured by
 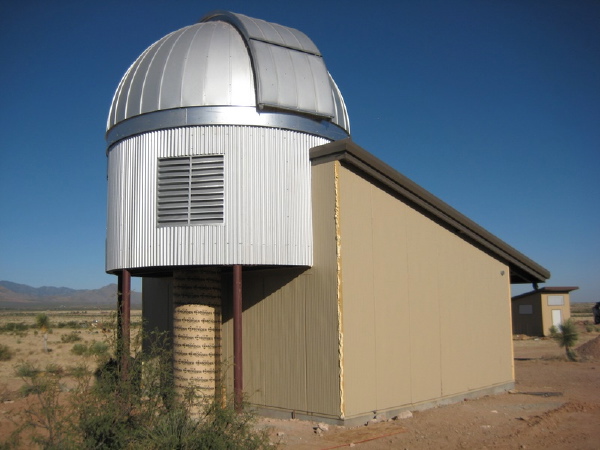 There is is, looking much like our
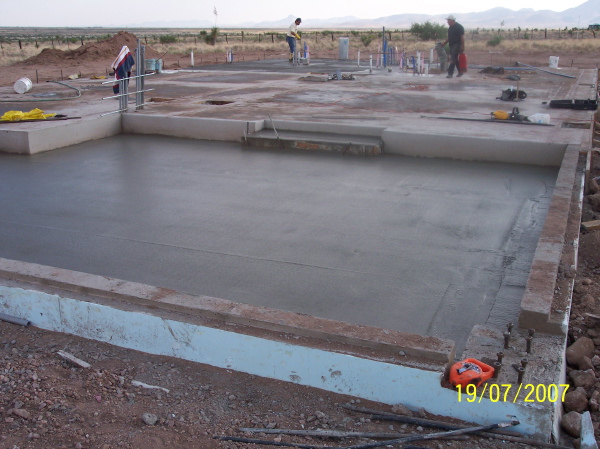
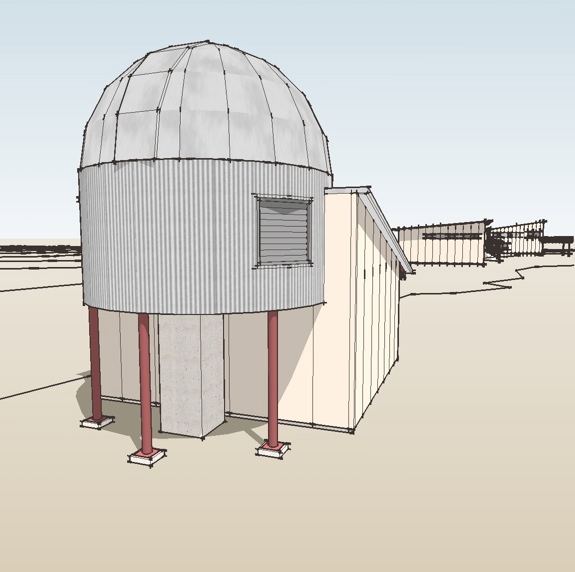
 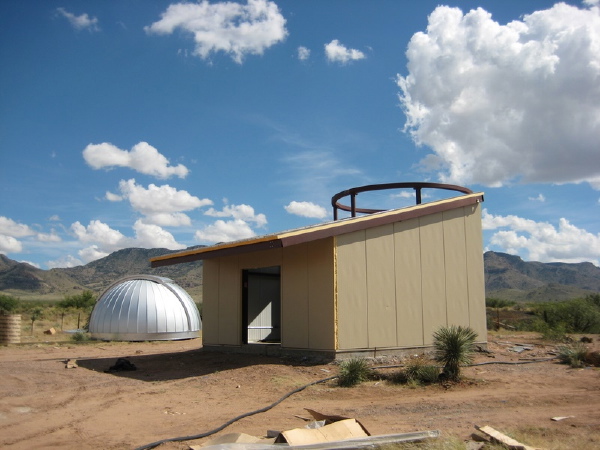 And once the dome is on the instrument is expected shortly there after. More detailed pictures follow in the Flickr slide show below. The instrument pier has been poured and in these photos it is still encased in the formwork while it is curing. The concrete can actually support itself soon after it is cast, but in this dry environment the formwork will actually help the concrete retain some moisture which is needed for the chemical reaction that occurs when the cement sets up.
More photos of the work after the jump.
And once the dome is on the instrument is expected shortly there after. More detailed pictures follow in the Flickr slide show below. The instrument pier has been poured and in these photos it is still encased in the formwork while it is curing. The concrete can actually support itself soon after it is cast, but in this dry environment the formwork will actually help the concrete retain some moisture which is needed for the chemical reaction that occurs when the cement sets up.
More photos of the work after the jump.
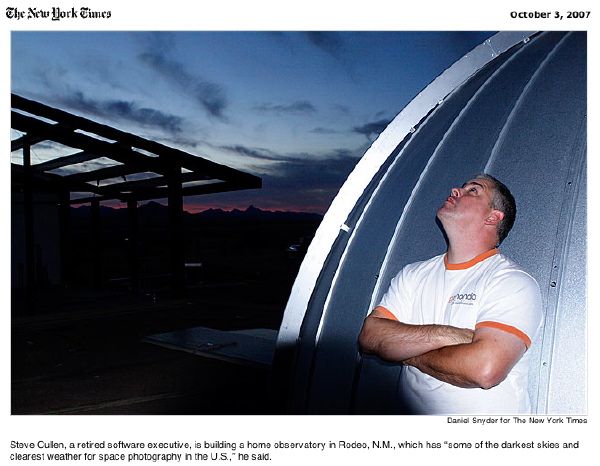 Steve Cullen, the Owner, felt we would have gotten better coverage if the construction was further along. In fact much of the technical info in the article sounds like it came from our interviews. But Steve is working on them for a second installment. He has big plans for the observatory, including a program where sky time is made available to schools across the nation to expose more kids to astronomy. We will fill in the details about that as it comes together.
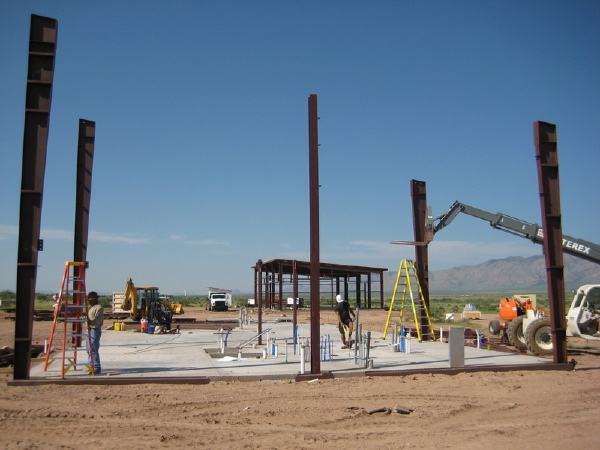
In the meantime here are the most recent photos from the construction work on the site after the jump.
Steve Cullen, the Owner, felt we would have gotten better coverage if the construction was further along. In fact much of the technical info in the article sounds like it came from our interviews. But Steve is working on them for a second installment. He has big plans for the observatory, including a program where sky time is made available to schools across the nation to expose more kids to astronomy. We will fill in the details about that as it comes together.
In the meantime here are the most recent photos from the construction work on the site after the jump.
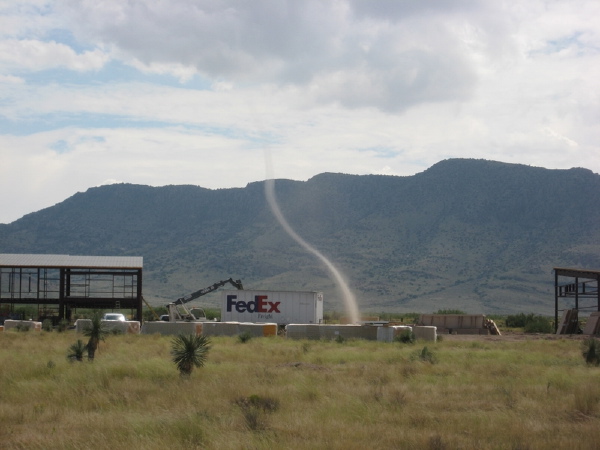
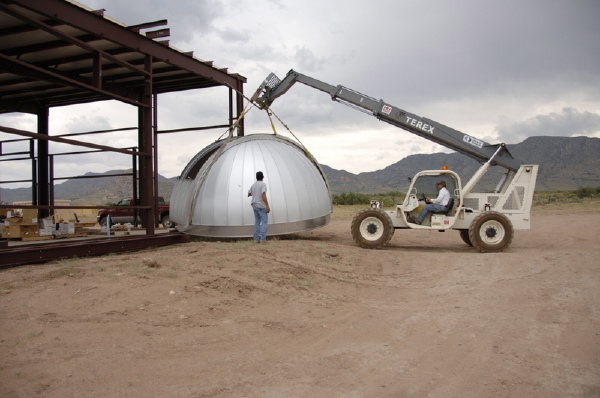 That seemed to come off very well, but the weather did not cooperate on the day this was done. As the wind picked up it made the dome difficult to handle and the call was to try the test fit on another day. The owner got a few amazing photos of the dust devils kicked up that day!
 And here is the days photos in the Flickr photostream after the jump.
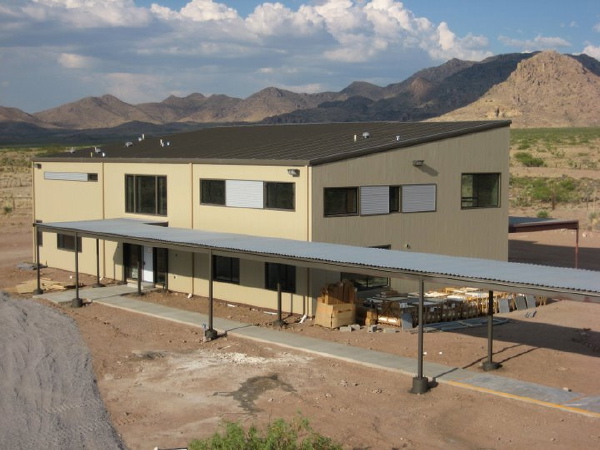
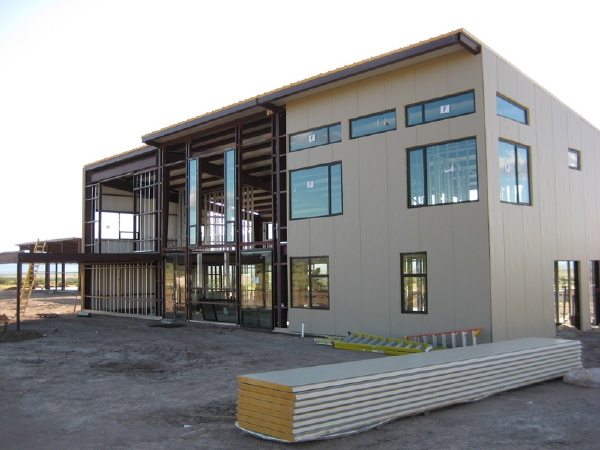
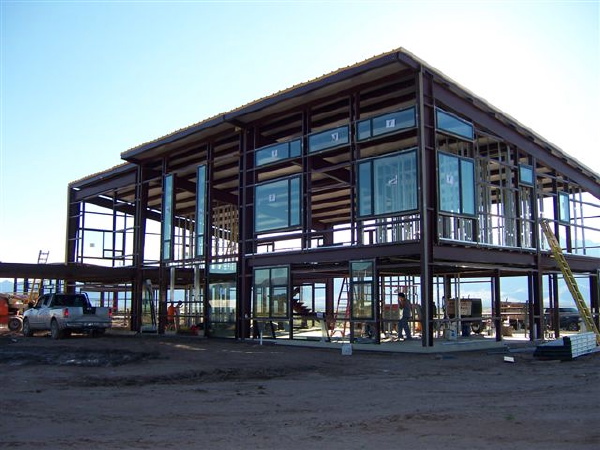
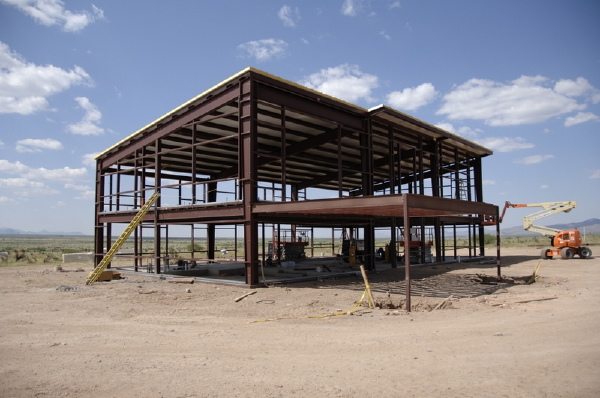
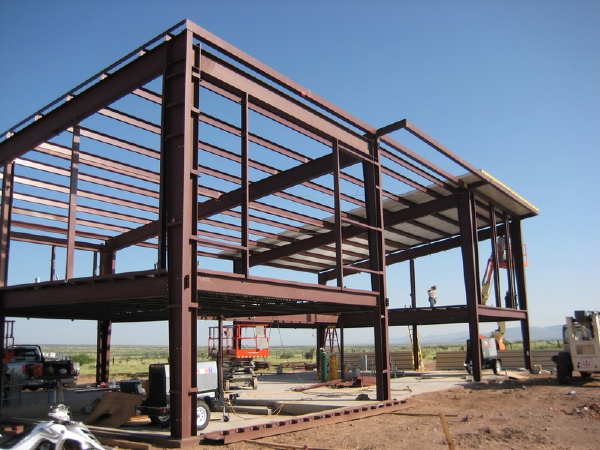
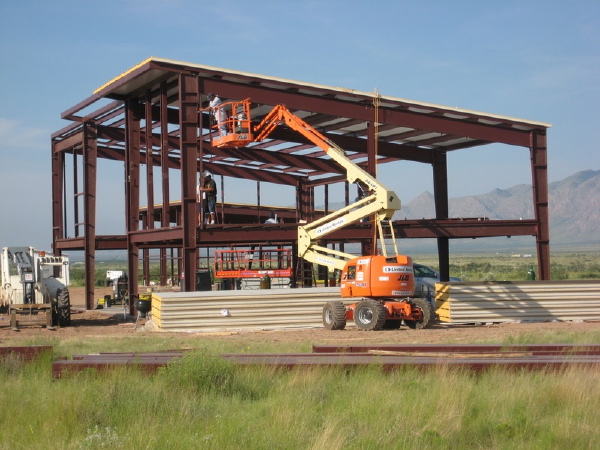
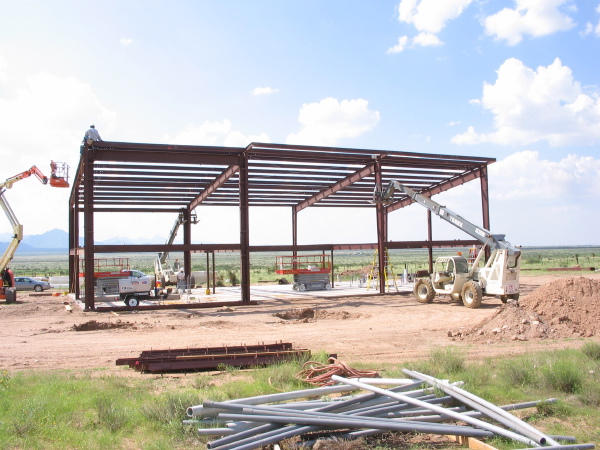
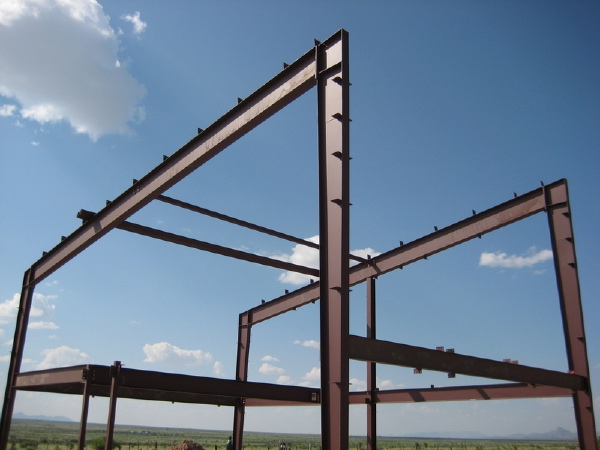
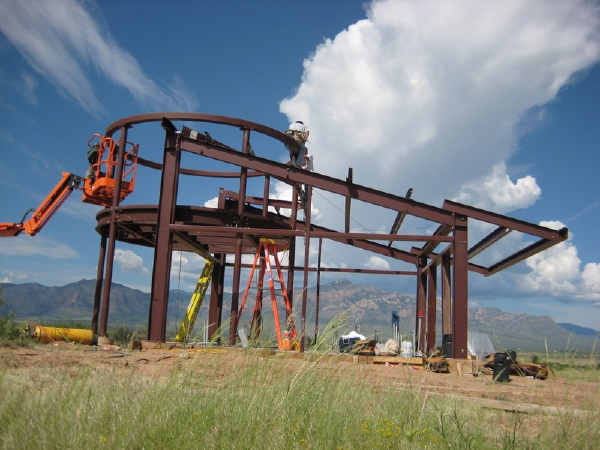
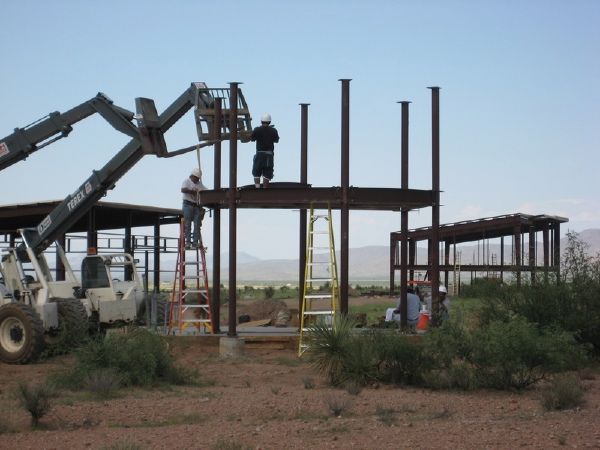 And here is the frame complete, the form just as in the earlier renderings, its very nice to see it standing.
 More photos after the jump.

