New Mexico EcoSteel House - the garage & shop
The first structures to have the slab poured will be the garage & shop and the barn. We received photos of the set up for these slabs today so it is a good time to look at the development of the design of the garage&shop.
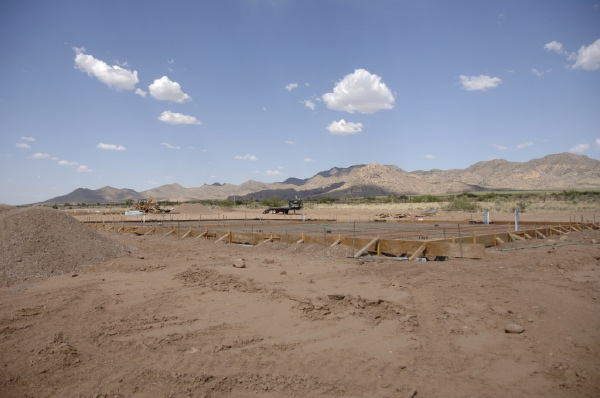
At the site you can see the formwork for the slab edge in place, and the pluming stub - ups for the piping that is embedded below the slab. There are a series of floor drains in the garage as well as a utility sink in the shop area. And of course the reinforcing bars, welded wire mesh, and the anchor bolts for the steel structure are placed as well. This must all be inspected prior to the pouring of the slab.
 Although a utility building there were several functions to accommodate in this structure. There is parking for the car and truck that are used on a daily basis, storage for a camping trailer that requires a high bay door, storage and parking for motorcycles, small atvs, and tractor for site work on the ranch. There is also dedicated space for maintenance work on the smaller vehicles and a dedicated work shop for handling the the day to day tasks that come up. When so remote you have to be prepared to fix it yourself. A little bit desert island, a little bit hacker!
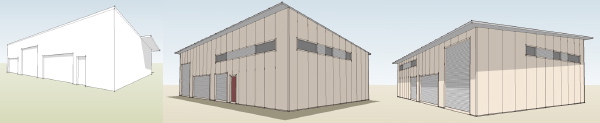 We progressed from rough sketches, relocating the access doors as the interior layout sorted itself. As the orientation of the building was determined we were able to place windows and provide shading for them, all which figured back into the building form.
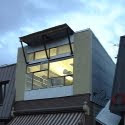
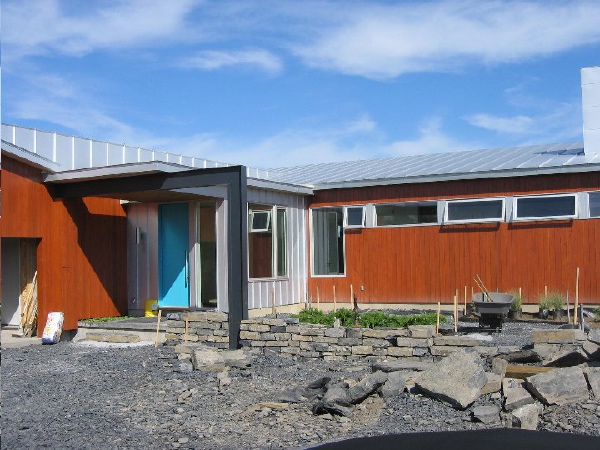
 The overall form of the roof compliments the main house, slightly lower it picks up the slope of the main house roof.
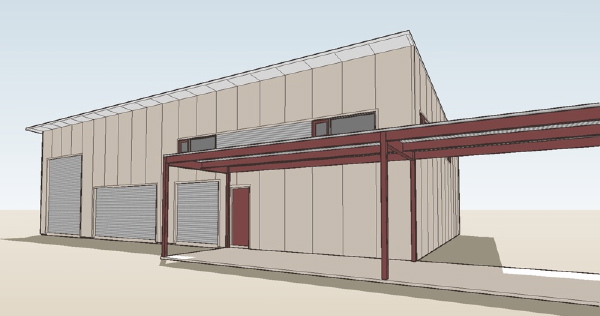
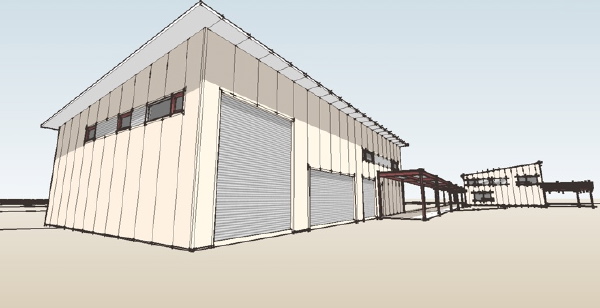 The covered walkway connecting to the house. As with the house, my schematics led to the fabrication drawings which are in the shop right now.
 For the next update we can look at the observatory - very cool stuff.
Continue reading "New Mexico EcoSteel House - the garage & shop"
For the next update we can look at the observatory - very cool stuff.
Continue reading "New Mexico EcoSteel House - the garage & shop"
 Done with the same care and thoughtfulness as the rest of the owner's choices. I can't wait to see the rest of it.
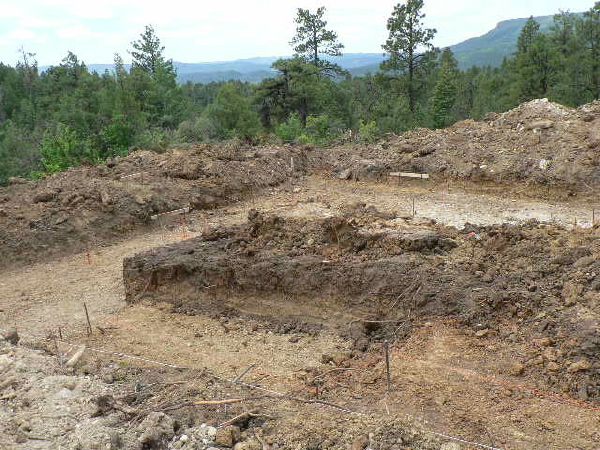
 Here is the excavation cleared, re-bars appear to be hammered in marking the outline of the spread footings. Looks well drained, moist soil, but no water in the excavation - always a good thing.
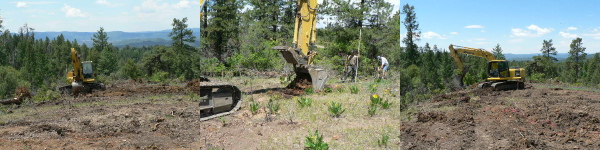
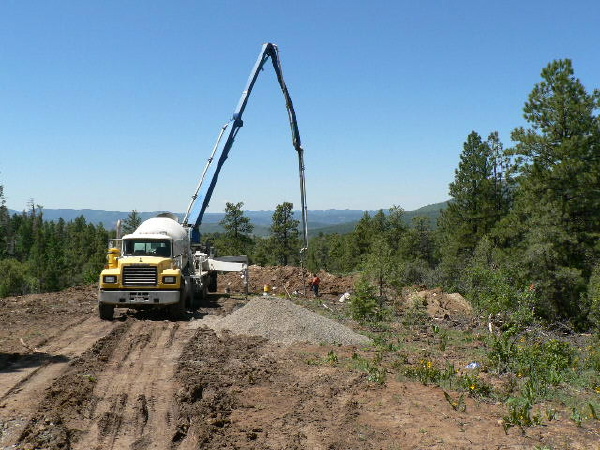
 Here is the mixer feeding the pumper, and the boom making the long reach to the house site. A boom pumper rental is not insignificant, but it can really speed up the handling of the concrete making it well worth it. More so if you have a site where direct access to the excavation is tough.
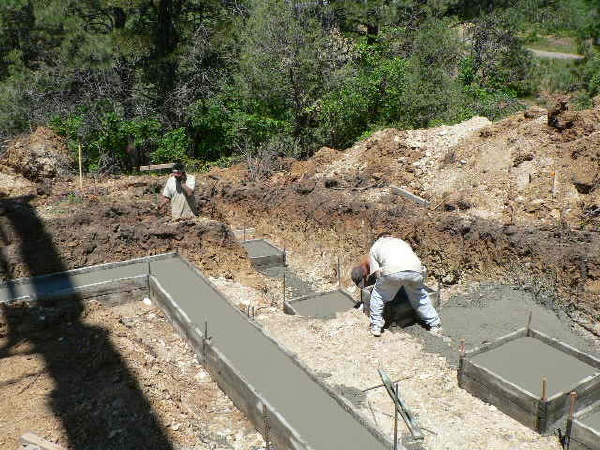
 Footings filled, and curing.
 Our thanks go out to all our customers who share their projects with us and help feed our passion for modern homes.
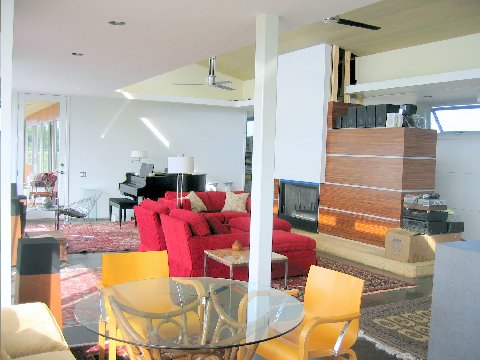
 And looking across the living room from the table bay adjacent to the kitchen.
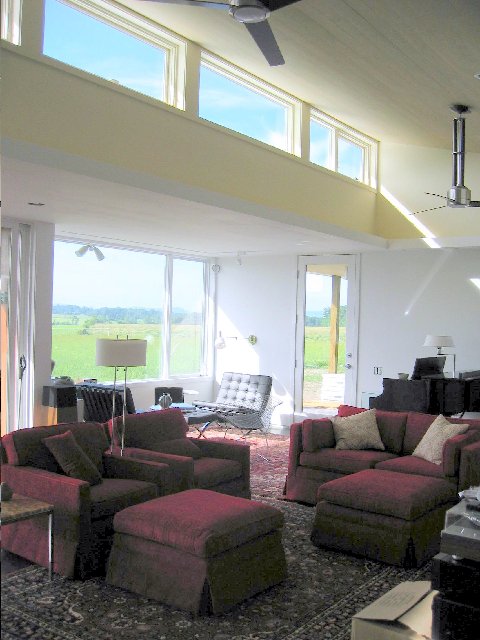
 Perhaps it is the character of the furniture, or maybe the bit of move-in clutter that reminds me of lived-in clutter, but in the pictures the house has a feeling of inevitability, like it had always been there, always been lived in. An illusion I know, maybe one that only designers experience?
We will revisit as he settles in and the loose ends are finished. There are things to do outside as well. I'm at once excited to see the house occupied, and sad to see the discovery of the house being realized come to an end.
Perhaps it is the character of the furniture, or maybe the bit of move-in clutter that reminds me of lived-in clutter, but in the pictures the house has a feeling of inevitability, like it had always been there, always been lived in. An illusion I know, maybe one that only designers experience?
We will revisit as he settles in and the loose ends are finished. There are things to do outside as well. I'm at once excited to see the house occupied, and sad to see the discovery of the house being realized come to an end.
 The
The 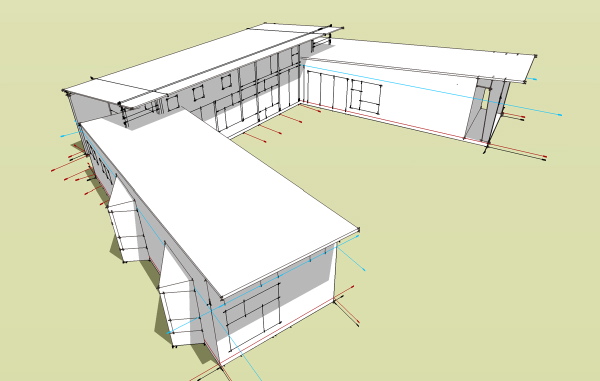 I knew the living/dining/kitchen wing would work as its construction is similar to the Steel Case House. I had already looked closely at the conversion of the Steel Case House to EcoSteel, and its a no-brainer. But the bedroom wings? Sometime after this we did a design study for a pair of house designs in Desert Hot Springs, CA. These were to be oriented on a narrow lot along the long dimension. Those designs were previously posted
 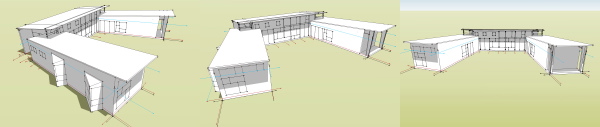 We didn't get to build this one but it occurred to me that I should show it here on the blog. Maybe the person looking for that EcoSteel U House is reading this right now.
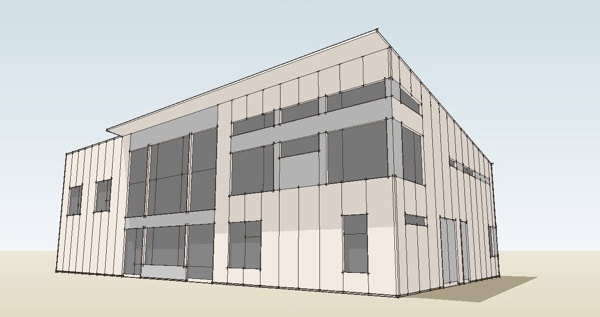
 Our original brief for this project was to be a modified 6040 House. Our early design sketches were for a refinement of the original 6040 design to incorporate the lessons learned in the design of the first 6030 House. Here is a brief comparison of the original and revised 6040 designs:
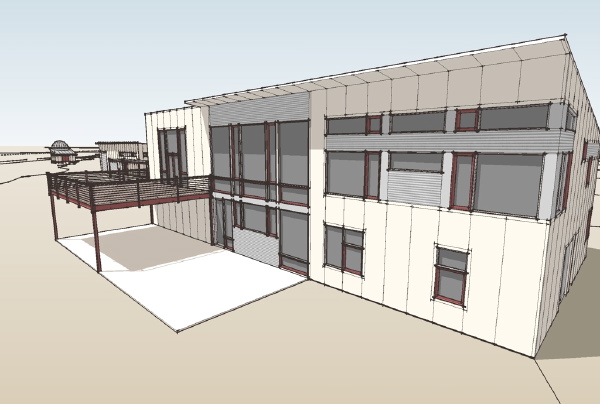
 As the design progressed it was determined that the garage was not needed in the main house and all of the parking needs would be handled in the shop/garage structure. The garage space was reclaimed, and the footprint enlarged 18 feet to make the overall footprint of the house 78' x 40'. The floor plans were reorganized to take advantage of the additional space, but one favorite feature of the original design was retained - the second floor bridge.
 As the design was refined we added a second floor deck to the rear of the house and joined the house and shop/garage with a covered walkway.
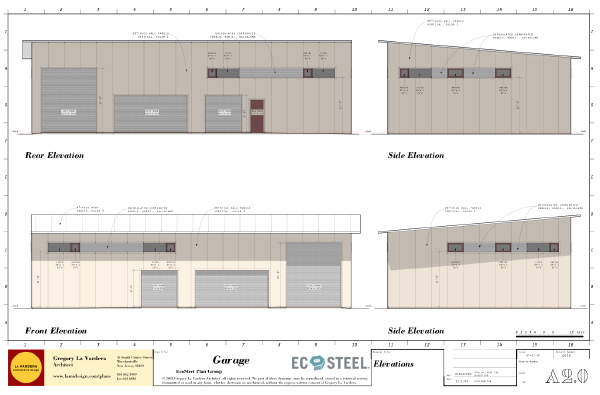
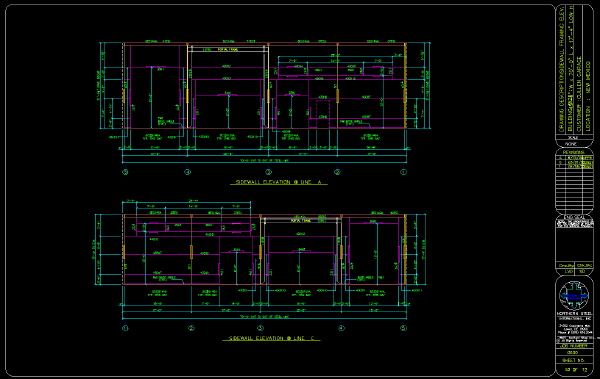
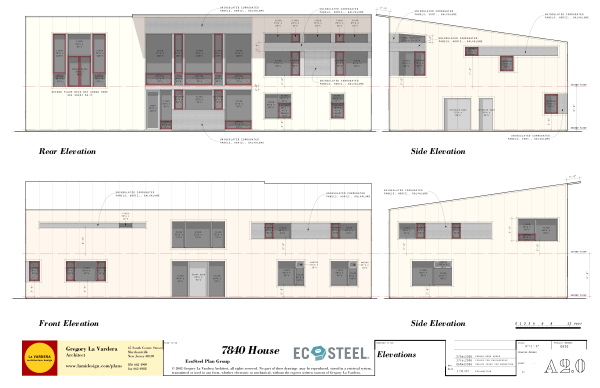
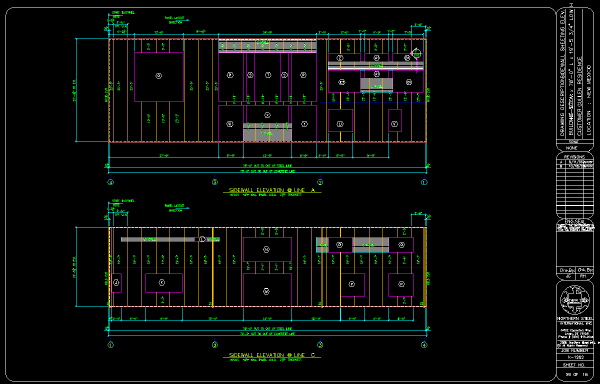
 My final schematics were prepared, and then used by the structural engineer for the basis for his design and by the steel detailer to prepare the fabrication drawings.
 Which brings us roughly up to today, ready to go into production.
Next time I get an update from the site we can look at the shop/garage more closely.
Which brings us roughly up to today, ready to go into production.
Next time I get an update from the site we can look at the shop/garage more closely.
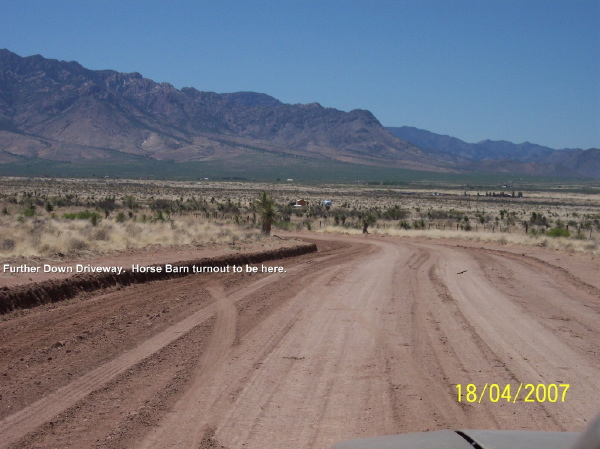
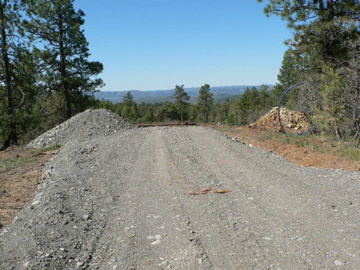
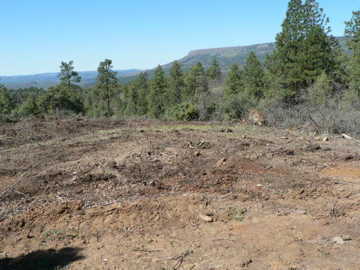
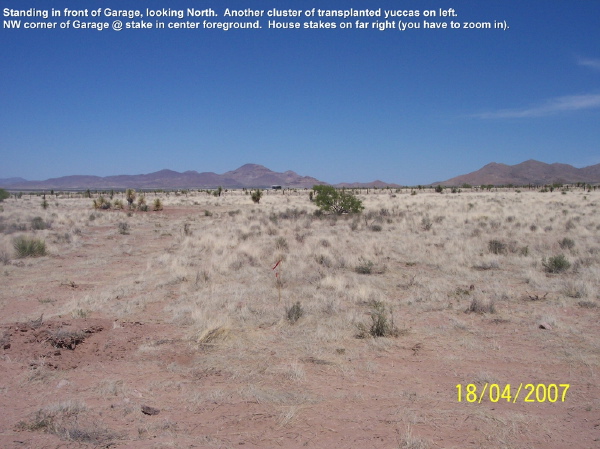 The project consists of a trio of buildings - a residence, a garage/shop, and an observatory structure. Yes! That's right. More detail about that later. The three structures are located in proximity to each other at one corner of the site.
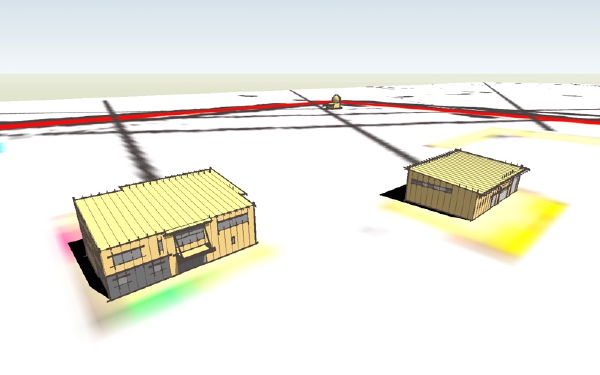 a site mockup with early building studies
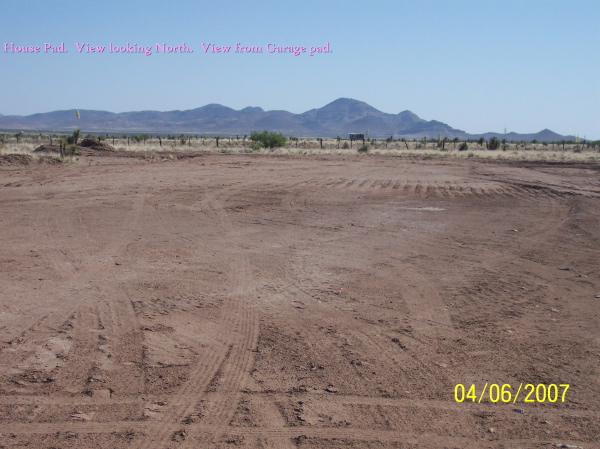
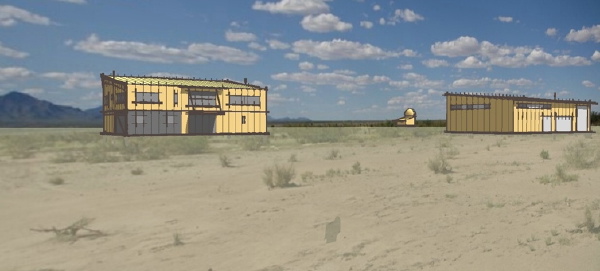 a composite view with the model superimposed on a site view
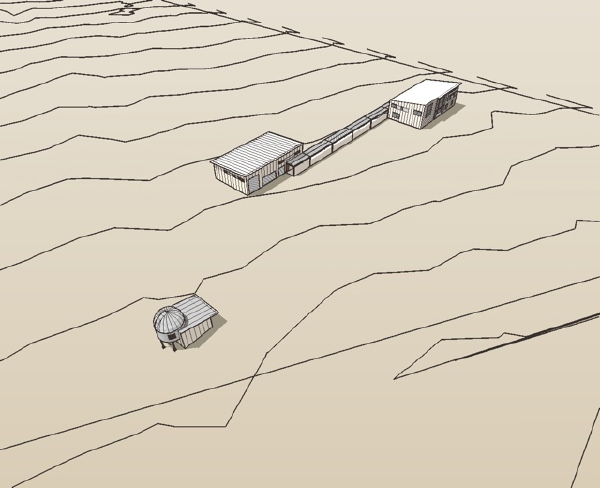 final structure siting
Eventually a covered walkway between the garage/shop and the residence was developed. I will look at each of these structures more closely in upcoming posts. This will be a good way to pass the time till things start happening on site.
If everything falls into place flawlessly the schedule puts components arriving on site early July. I'm guessing an 8 week build depending on the size of the crew. Which means our shells should be complete by the end of August. Come along for this project - it should be fun to see it come together.
final structure siting
Eventually a covered walkway between the garage/shop and the residence was developed. I will look at each of these structures more closely in upcoming posts. This will be a good way to pass the time till things start happening on site.
If everything falls into place flawlessly the schedule puts components arriving on site early July. I'm guessing an 8 week build depending on the size of the crew. Which means our shells should be complete by the end of August. Come along for this project - it should be fun to see it come together.