
Letters from Sweden - A look at a simple assembly line
Last time we looked at a near fully automated closed wall panel assembly line. I said that you really don't need all that automation to build houses the Swedish way, so today we'll look at a much simplified process. This is the way most houses in Sweden are built.
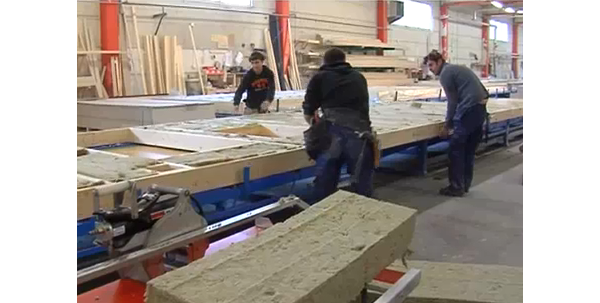
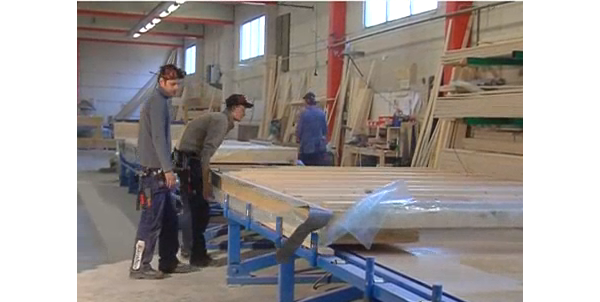
What we are about to see is the Swedish Flip Table - a hydraulic tilting table that allows you to easily turn a wall panel over so you can work on both sides. That is the key really - keep the panel on a table so you can reach everything without ladders, and be able to flip it over so you can work on both sides. Each side of the Flip table is a workstation where you can complete both the inside and outside of the wall. We saw this table in the full automated line, but here we can see how just this table allows a factory to set up a simpler and effective work flow. In this example it is supplemented by an additional work table on either end of the flip which expands the total workstations to four. Smaller factories often use just the flip table, or two.
Here is a diagram of the line, not labeled as with the automated line, but its so simple we'll explain below:
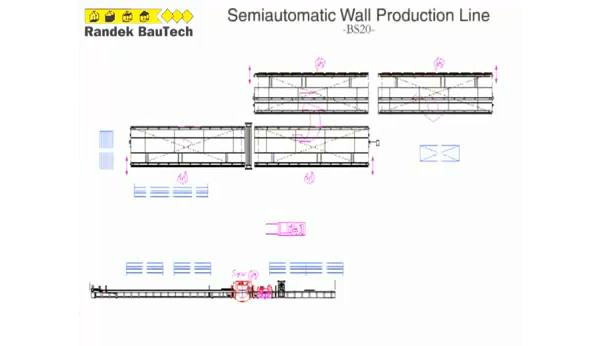
Here are the steps in the line:
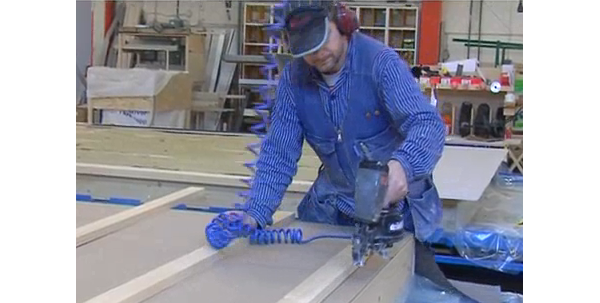
- the first table is the framing table. It has hydraulic clamps which allow you to set up the entire stud panel, and then rapidly nail it all into place.
- the flip table is in the middle. Both sides of the table can be used at once, when the second side is finished and clear, the panel from the first side is flipped over and the work begins on the other side.
- the stand up table is the last table. The work on the panel is finished there, and then the panel is stood up on end to be taken away for wrapping and transport.
Lets look at the sequence in detail:
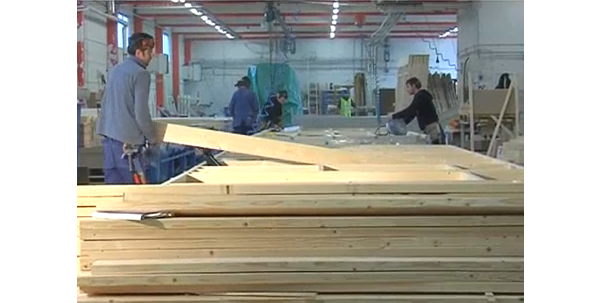
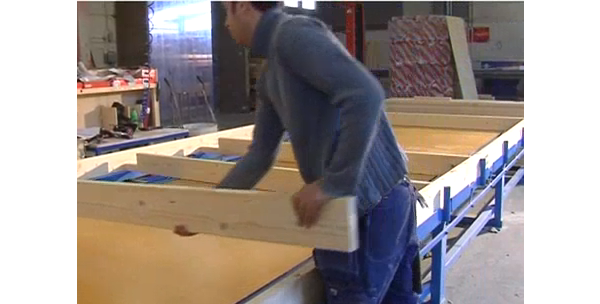
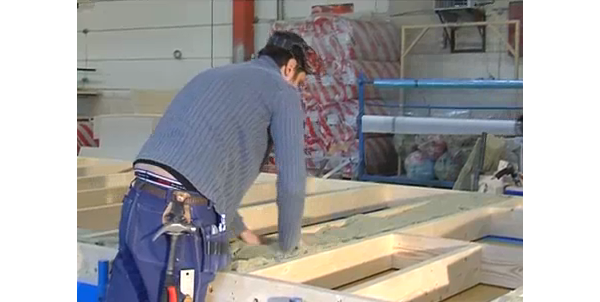
Studs, top, and bottom plates are first cut according to a list made for the wall panel. A factory may have an automated cutter, or simply a man with a cut list. The studs for a given panel are staged at the end of the table and the pieces are laid out. The table then clamps them all together so they can not move, and the workers can nail them all very rapidly. Note that unlike other examples we've looked at the windows are not installed, but in other examples a separate worker would have been building the window opening frame and another putting the window into it and then adding it to the staged material here.
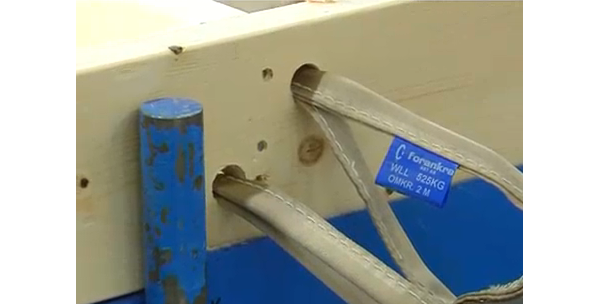
Also at this time the lift straps for the panel are installed.
While still on the framing table insulation is installed filling the stud spaces completely.
Then the panel is rolled down the line onto the first half of the Flip Table.
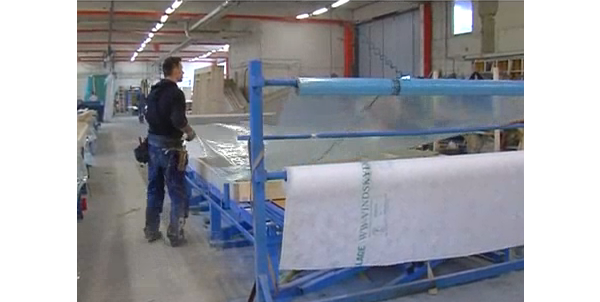
The interior vapor barrier is added next. Note the table includes a large roll holder so that the handling of the large sheet is easy and fast, nothing like trying to hang sheets on a vertical wall.
next the interior is finished
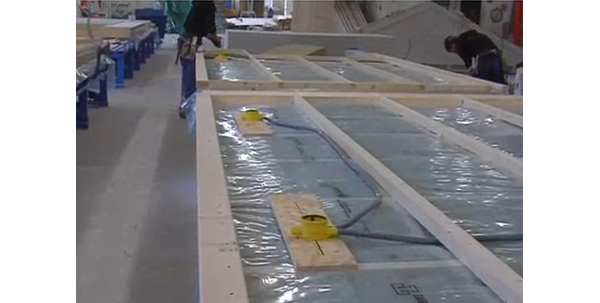
Electrical boxes are put in place, and the batten strips that hold the gypsum board. Note that all of the electrical work is inside the vapor barrier. No punctures, no air leaks.

Next the interior layer of insulation goes in-between the battens. The change in orientation of the battens and studs means that this layer of insulation prevents any direct thermal bridging of the studs to the interior. This is something that we are struggling with in high performance houses in the US. Many well respected experts have been advocating for exterior foam for the same purpose, and reversing the typical interior vapor barrier to the exterior because the foam insulation will block vapor anyway. I much prefer the Swedish technique we see here.
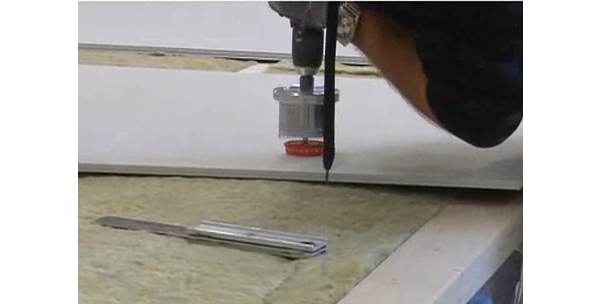
Next the interior gypsum board is mounted. What we see here is the magnetic finder on the hole saw for the electrical boxes. The magnet centers the drill, and a round hole is cut for the box. Easy, fast, and designed to be that way. Why are our electrical boxes square?

Drywall done, time to flip the panel.
Now work proceeds on the exterior of the wall. First sheathing panels are added, and then batten strips for the exterior siding. In this case the panel will get horizontal tongue and groove boards, so the battens go vertical over the studs.
When battens are done the panel is rolled to the last table, the stand up table.
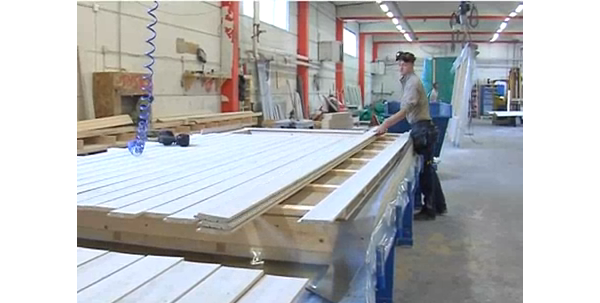
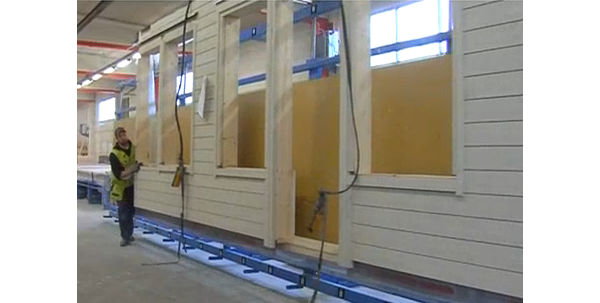
Siding boards are installed, and all the window and door openings trimmed.
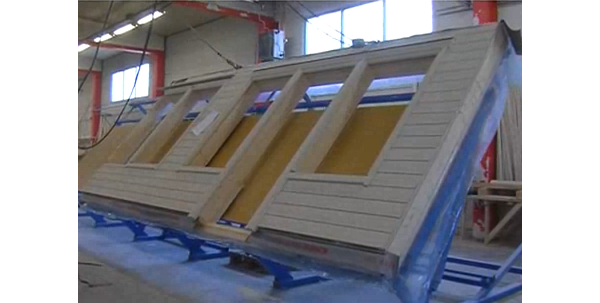
When the panel is done the lift straps are attached to the conveyor track above and the wall panel is tilted to vertical.
If this was a smaller line with only the flip table, then the flip table would be used to bring the wall panel to vertical.
The slack in the cables from the conveyor are taken up as the panel is raised. When vertical it swings off the table and the worker can push it away for wrapping and to await shipment.
And so even a small factory can set up a very efficient work flow for creating their wall panels. No multi-million dollar automated lines, and few excuses either! Enjoy the video below of the entire process:


Thanks for the very informative video, Greg.
ReplyDeleteYou are quite welcome, and I might add that was very un-irritable of you. :^)
ReplyDelete